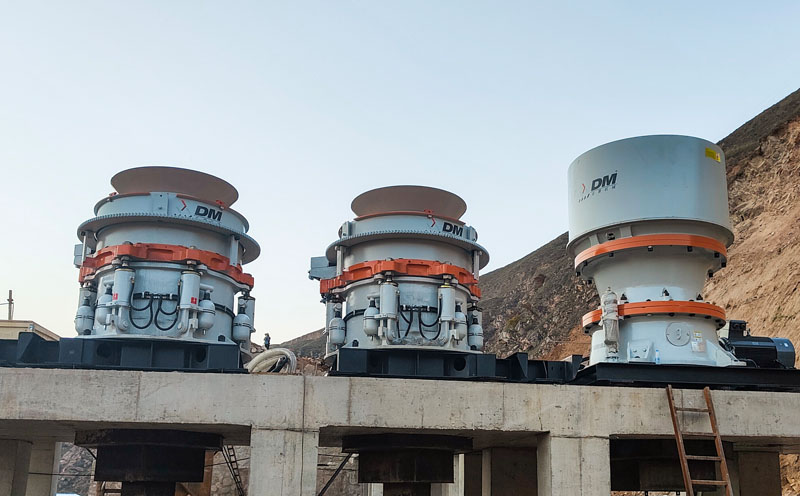
How to correctly install a cone crusher?
Correct Installation Guide for Cone Crusher
Safety First: Installing a cone crusher is a high-risk operation. Strictly adhere to safety regulations, including but not limited to lockout/tagout, wearing appropriate Personal Protective Equipment (PPE), and using certified lifting equipment.
Phase 1: Pre-Installation Planning & Preparation
Safety Preparation
- Lockout/Tagout (LOTO): Isolate and lock out all energy sources before starting any work.
- Personal Protective Equipment (PPE): All personnel must wear hard hats, safety glasses, steel-toed boots, gloves, and hearing protection.
- Lifting Safety: Use lifting equipment with adequate capacity, ensure correct lifting points, and keep personnel clear of suspended loads.
- Read the Manual: Carefully read and follow the installation and operation manual provided by the manufacturer.
Pre-Installation Checklist
| Item | Inspection Content |
|---|---|
| Foundation Inspection | The foundation must be designed by a qualified engineer to handle dynamic loads. Check if it is fully cured, level, and if the anchor bolt locations and embedment depths are correct. |
| Equipment Receiving Inspection | Inspect the crusher and all components for damage during transportation. Verify that all parts are complete. |
| Tool Preparation | Prepare necessary tools and materials such as cranes, torque wrenches, dial indicators, feeler gauges, spirit levels, and lubricants. |
Phase 2: Step-by-Step Installation Process
Step 1: Foundation and Sub-Frame/Main Frame Installation
- Clean the foundation surface, removing all debris.
- Pour non-shrink, high-strength grout.
- Lift and position the sub-frame or main frame. Use precision leveling instruments for leveling – this is one of the most critical steps.
- Fully tighten the anchor bolts only after the grout has completely cured.
Step 2: Installing the Main Shaft and Eccentric Assembly
Depending on the shipping condition of the equipment:
- Pre-assembled: Lift the entire main shaft/eccentric/head assembly as one unit.
- On-site assembly: Install components like the eccentric sleeve and lower head bushing in sequence, lubricating all contact surfaces.
Step 3: Installing the Bowl and Adjustment Ring
- Apply the correct backing compound into the bowl and install the bowl liner.
- After the backing compound has fully cured, lift the entire bowl and adjustment ring assembly and thread it onto the main frame.
Step 4: Installing the Head and Mantle
- Use the correct backing compound to secure the mantle to the head.
- Tighten the mantle nut to the torque specified by the manufacturer.
- Lift the assembled head and mantle into the crusher.
Step 5: Installing the Tramp Release and Clamping System
- Install the adjustment ring clamping cylinders.
- Install the tramp release cylinders (accumulators). Charge them with nitrogen to the specified pressure (Never use oxygen or compressed air).
Step 6: Lubrication and Hydraulic System
- Connect the lubricating oil pipes and fill the tank with the specified oil.
- Flush the lubrication system if required.
- Connect the hydraulic system lines and fill the reservoir with hydraulic fluid.
Step 7: Drive System Alignment
- Install the countershaft and V-belts/sheaves.
- Use a laser alignment tool to ensure precise parallel and angular alignment between the motor and crusher sheaves.
- Install the V-belts and tension them to the manufacturer's specifications using a belt tension gauge.
Phase 3: Final Checks and Commissioning
Step 8: Pre-Startup Checks
- Rotate the crusher manually to ensure it moves freely.
- Verify that the crusher's Closed Side Setting (CSS) is correctly set.
- Start the lube oil pump to check oil flow, pressure, and for any leaks.
- Ensure all guards are in place and the work area is clean.
Step 9: Commissioning (Startup)
- No-Load Run: Run the crusher empty for a few hours.
- Close Monitoring: Check for unusual noises, oil temperature, oil pressure, and vibration.
- Load Run: Begin feeding material slowly, starting with easy-to-crush material, and gradually increase to the designed capacity.
Summary of Critical Points for Correct Installation
| Key Aspect | Importance |
|---|---|
| Foundation & Leveling | A poor foundation or unlevel frame will cause chronic problems. |
| Correct Lubrication | Must use only the oils and greases specified by the manufacturer. |
| Proper Torque | Critical bolts must be torqued to exact specifications. |
| Drive Alignment | Precise sheave alignment is essential for V-belt life. |
| Tramp System Setup | Incorrect accumulator pressure can render the tramp release system useless. |
Final Reminder: Following this detailed installation procedure will ensure your cone crusher is installed correctly, providing a solid foundation for reliable operation, optimal performance, and a long service life. If in doubt, always refer to the manufacturer's official documentation or contact their technical support team for assistance.
 English
 简体中文
简体中文
 عربي
عربي
 Русский
 Français
 Español

Get In Touch With Us